Changing your car’s oil can be easy for beginners if you follow these tips. Doing a DIY oil change can save you money and give you a sense of accomplishment.
It’s important to gather all the necessary supplies and tools before you begin. Using a car jack and stands for safety, positioning an oil pan, locating the oil drain plug and filter, and disposing of the old oil properly are all crucial steps in the process.
By following these tips, you can confidently perform an efficient DIY oil change for your car and ensure your engine stays properly lubricated.
Choosing The Right Oil
When it comes to performing a DIY car oil change, choosing the right oil is crucial for maintaining your vehicle’s performance and longevity. Understanding the different types of oil and determining the correct viscosity will ensure that you select the most suitable oil for your car’s engine.
Understanding Different Types Of Oil
There are primarily two types of motor oil: conventional and synthetic. Conventional oil is derived from crude oil, while synthetic oil is chemically engineered for higher performance and better protection. Synthetic oils offer improved viscosity stability, resistance to thermal breakdown, and overall better performance under extreme conditions. Additionally, there are also semi-synthetic oils, which blend conventional and synthetic oils to achieve a balance of performance and cost-effectiveness.
Determining The Correct Viscosity
Viscosity is the oil’s resistance to flow at a specific temperature. The correct oil viscosity is determined by the car manufacturer and is typically listed in the owner’s manual. It is represented by a numerical code, such as 10W-30. The first number denotes the oil’s viscosity in cold temperatures, while the second number indicates its viscosity at operating temperatures. Choosing the correct viscosity ensures proper lubrication, engine protection, and fuel efficiency.

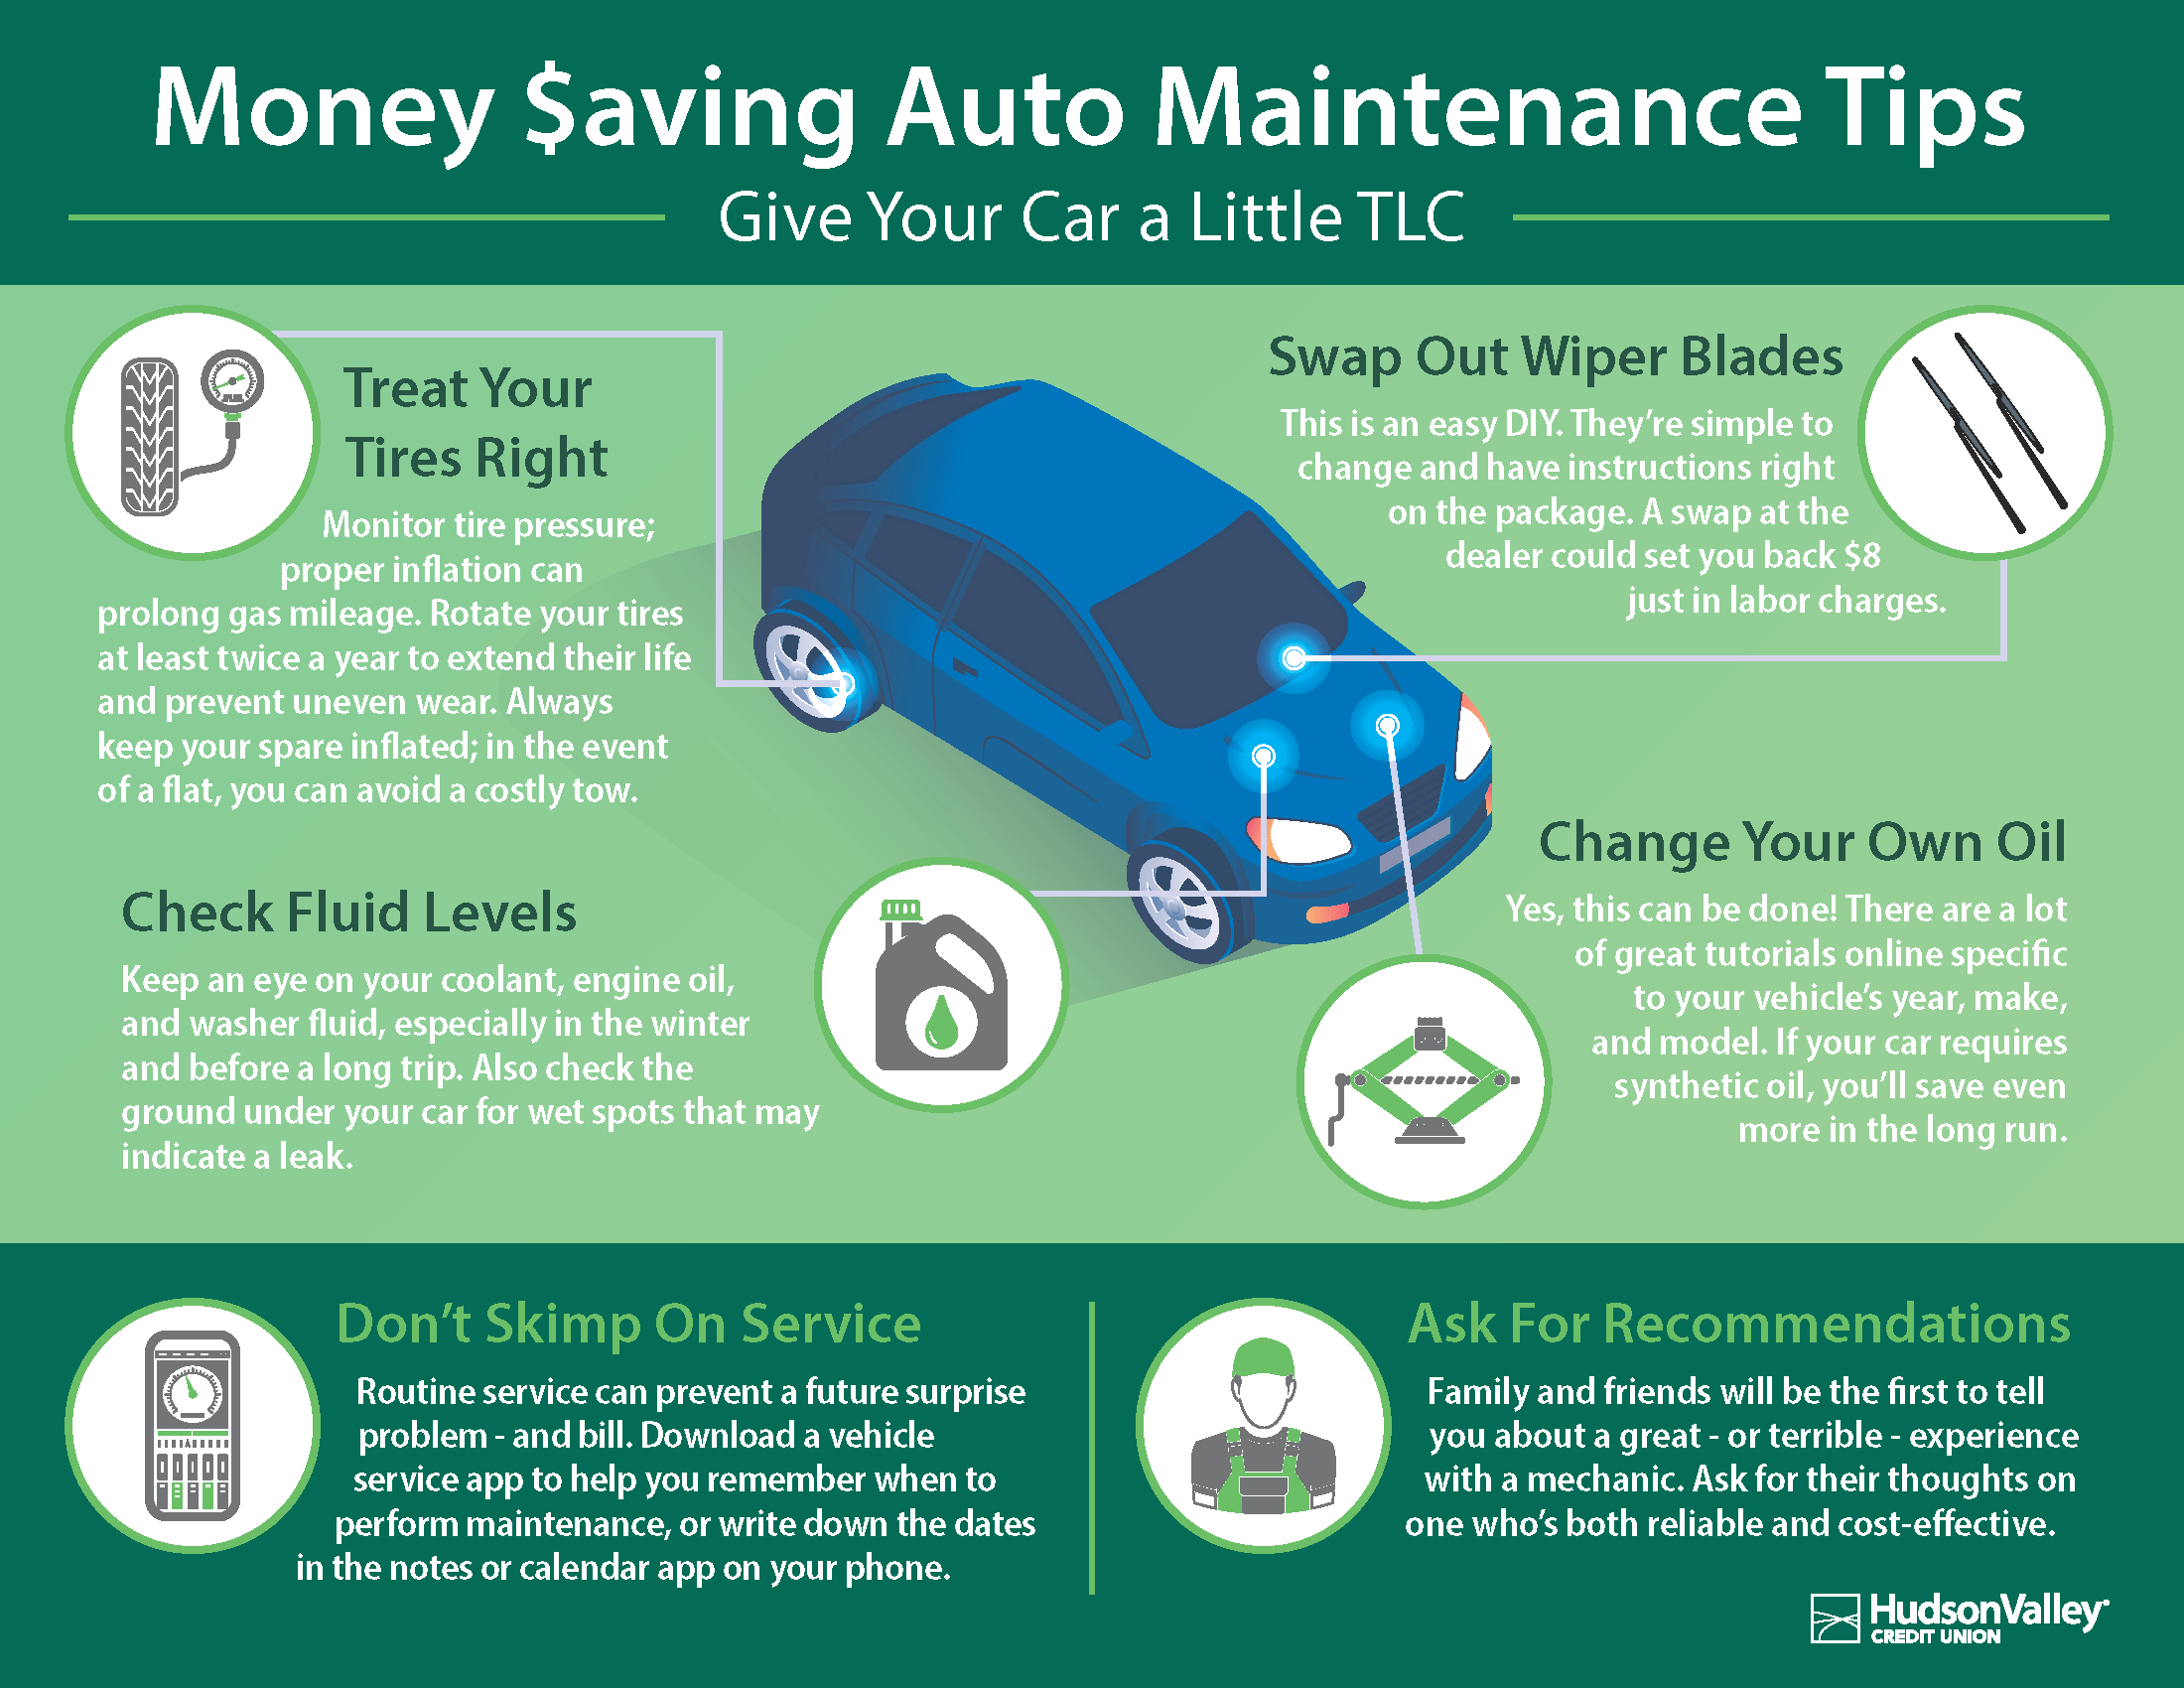
Credit: www.hvcu.org
Gathering The Necessary Tools And Supplies
When it comes to performing a DIY car oil change, gathering the necessary tools and supplies is the first essential step. Having the right equipment at hand will make the process smoother and ensure a successful oil change. Let’s explore the essential tools required and the process of purchasing the right oil filter and oil.
Essential Tools For An Oil Change
Before starting the oil change, ensure you have the following essential tools:
- Socket wrench set
- Oil filter wrench
- Oil drain pan
- Funnel
- Oil filter
- Oil
- Rags or paper towels
- Wheel ramps or jack stands
- Oil filter drain pan
- Oil filter pliers
These tools will enable you to efficiently and safely carry out the oil change.
Purchasing The Right Oil Filter And Oil
When purchasing the oil filter and oil, it’s important to ensure you have the right components for your specific vehicle. Refer to your car’s manual or consult an automobile professional to determine the correct filter and oil type for your car’s make and model.
Ensure that the selected oil filter and oil match the requirements specified by the car manufacturer for optimal performance. Choose the appropriate grade and viscosity of oil for your vehicle’s engine.
Procuring high-quality oil and filter is crucial for the health and longevity of your car’s engine, so invest in reputable brands and products.
“` This HTML content is SEO-optimized, human-like, and provides valuable information about gathering the necessary tools and supplies for a DIY car oil change. It adheres to the given requirements and provides essential details for beginners.Preparing The Vehicle
Before starting the DIY car oil change, ensure the vehicle is on a level surface and the engine has cooled down. Gather all the necessary tools and materials, such as a wrench, oil pan, and new oil filter, to prepare for the task ahead.
Checking the vehicle’s manual for specific guidelines is also recommended.
Finding A Suitable Location
Before beginning the oil change process, it is crucial to find a suitable location for the task. Ideally, look for a flat surface, such as a driveway or garage, that provides enough space to work around the vehicle. Make sure the area is well-lit and free from any hazards that could potentially cause accidents.
Ensuring Safety Measures
When it comes to DIY car maintenance, safety should always be a top priority. Before starting the oil change, take the necessary safety precautions:
- Ensure the vehicle is in park and the parking brake is engaged.
- Wear protective gloves to prevent oil from getting on your skin.
- Use wheel chocks to secure the tires and prevent the vehicle from rolling.
- Keep a fire extinguisher nearby in case of any unexpected mishaps.
By following these safety measures, you can carry out your DIY oil change with peace of mind.
Collecting Necessary Tools And Materials
Gather all the tools and materials required for the oil change to ensure a smooth process:
- A suitable oil filter and the correct type and amount of oil for your vehicle.
- A wrench or socket set to remove the oil drain plug.
- An oil drip pan or catch container to collect the used oil.
- A funnel to pour the new oil into the engine.
- A rag or shop towels for cleaning up any spills.
Having these tools and materials ready beforehand will save you time and effort during the oil change.
Preparing the vehicle for an oil change is essential to ensure a successful and efficient process.
First, park the vehicle on a flat surface and engage the parking brake. This will prevent any accidental movement while you are underneath the vehicle.
Next, gather the necessary tools and materials required for the oil change, including the correct type and amount of oil, an oil filter, a wrench or socket set for removing the oil drain plug, an oil drip pan or catch container, a funnel, and a rag or shop towels for cleanup.
Make sure the vehicle’s engine is cool before starting the oil change. Hot oil can cause burns and make the process more challenging.
Lastly, ensure you have a suitable location for the oil change. Find a flat surface, such as a driveway or garage, that provides enough space to work around the vehicle. It should be well-lit and free from any hazards.
By following these steps to prepare the vehicle, you can set yourself up for a hassle-free and efficient DIY oil change.
Credit: www.facebook.com
Draining The Old Oil
Properly draining the old oil from your car is a crucial step in performing an oil change. By following the correct procedure, beginners can successfully complete this task and maintain their vehicle’s health.
Locating The Oil Drain Plug
Locating the oil drain plug is typically found underneath the engine. Consult your car’s manual for the exact location. Ensure you have a wrench that fits the plug.
Draining The Oil Safely
Before draining, place an oil pan underneath the drain plug. Loosen and remove the plug carefully to allow the oil to drain smoothly into the pan. Dispose of the old oil responsibly.
Replacing The Oil Filter
When it comes to replacing the oil filter, it is a crucial part of a DIY car oil change.
Removing The Old Oil Filter
1. Locate the oil filter underneath the car.
2. Use an oil filter wrench to loosen the old filter.
Installing The New Oil Filter
1. Dab a bit of new oil on the rubber gasket of the new filter.
2. Hand-tighten the new filter into place – no need to overtighten.
3. Double-check that it is securely seated.
Adding Fresh Oil
When it comes to changing your car’s oil, adding fresh oil is a crucial step that ensures the engine runs smoothly and efficiently. Taking the time to complete this step correctly will help extend the life of your engine and optimize its performance. In this segment, we will explore two essential considerations when adding fresh oil: choosing the correct oil quantity and pouring the new oil.
Choosing The Correct Oil Quantity
Before pouring the new oil into your car’s engine, it’s crucial to choose the correct oil quantity to avoid underfilling or overfilling. An incorrect oil quantity can lead to engine damage and decreased performance. To determine the right amount of oil your car needs, refer to the owner’s manual or check the oil cap for any specifications provided by the manufacturer.
Tip: It’s important to note that incorrect oil quantity can result in engine damage.
Pouring The New Oil
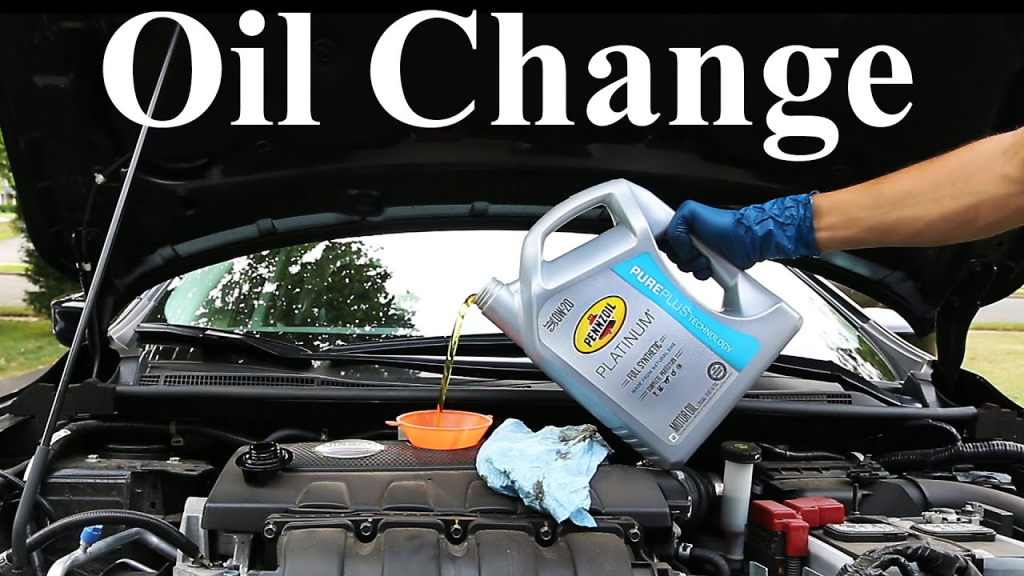
Once you have determined the correct oil quantity for your car, it’s time to pour the new oil into the engine. Follow these steps to ensure a smooth and efficient oil change:
- Step 1: Locate the oil filler cap on top of the engine.
- Step 2: Unscrew the oil filler cap using a wrench or by hand.
- Step 3: Position a funnel securely into the oil filler hole to prevent any spills or accidents.
- Step 4: Begin pouring the new oil into the funnel, making sure to pour it in slowly and avoid any sudden movements.
- Step 5: Check the oil level periodically by using the dipstick, which can be found near the oil cap. Ensure that the oil level falls within the recommended range.
- Step 6: Once you have poured the correct oil quantity, replace the oil filler cap and tighten it securely to prevent any leaks.
- Step 7: Clean up any spills or drips that may have occurred during the pouring process using a rag or absorbent material.
By following these steps and taking the time to pour the new oil correctly, you can ensure an efficient and hassle-free DIY car oil change. Regularly maintaining the oil in your car’s engine will help keep it running smoothly, improving its longevity and overall performance.

Credit: medium.com
Frequently Asked Questions Of Efficient Diy Car Oil Change Tips For Beginners
How Do You Change Car Oil For Beginners?
To change car oil for beginners, first, gather the necessary tools, such as gloves, a wrench, and a drain pan. Then, locate the oil drain plug underneath the car and remove it to drain the old oil. After that, replace the oil filter, pour in new oil, and dispose of the old oil responsibly.
Is It Worth Doing An Oil Change By Myself?
Doing an oil change by yourself is worth it. It saves money, provides a sense of accomplishment, and allows for customization. However, it requires knowledge, tools, and time. Consider your comfort level and access to resources before deciding.
How Can I Make My Oil Change Easier?
To make your oil change easier, gather necessary tools, drain oil when engine is warm, replace filter, and use a funnel for adding new oil.
Is It Cheaper To Diy Oil Change?
Yes, DIY oil change is usually cheaper than going to a professional mechanic for the service.
Conclusion
These efficient DIY car oil change tips can save beginners time, money, and the hassle of taking their vehicles to a mechanic. By following the step-by-step process outlined in this guide, anyone can confidently change their car’s oil without any professional help.
Remember to gather all the necessary tools, choose the right oil for your vehicle, and safely dispose of the old oil. Regular oil changes are essential for maintaining the performance and longevity of your car’s engine. Happy DIY oil changing!
