Replacing your car’s tires can be done easily with this step-by-step DIY guide. Follow these instructions to safely and efficiently replace your tires at home.
Are you a car owner looking to replace your tires at home? It’s a task that can be easily accomplished with this step-by-step DIY guide. By following the instructions provided, you’ll be able to replace your tires in a safe and efficient manner.
Whether you’re a beginner or experienced in car maintenance, this guide will walk you through the tire replacement process. With just a few tools and a little bit of time, you’ll have brand new tires on your car without the need for a professional. Save money and gain a sense of accomplishment by taking care of this maintenance task yourself.
Choosing The Right Equipment
Selecting The Proper Tools
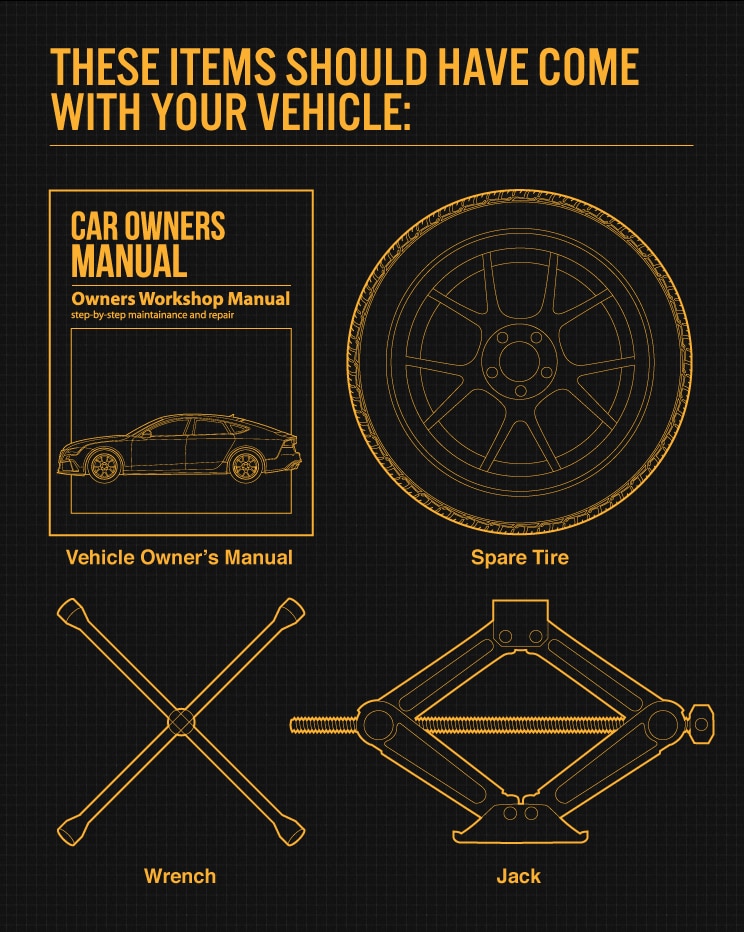
When replacing a tire, select the right tools for the job. Opt for a lug wrench, jack, and wheel wedges.
Ensure the lug wrench fits your vehicle’s lug nuts to avoid damaging them during removal.
Choosing The Right Tires
Consider the size and type of tires suitable for your car based on the manufacturer’s recommendations.
Look for the tire’s load rating and speed rating as per your vehicle’s specifications.
“` Tables could be added for visual representation of tool types and tire specifications if necessary for better readability depending on the provided content.
Credit: trail4runner.com
Preparing For The Replacement
Before embarking on the task of replacing your car’s tires, it’s essential to make sure you are well prepared. By following a systematic approach, you can ensure a smooth and successful tire replacement process. This section will guide you through the necessary steps to prepare for the replacement, including securing the vehicle and removing the wheel nuts.
Securing The Vehicle
Before starting any work, it’s crucial to prioritize safety by securing the vehicle properly. Follow these steps to ensure a stable working environment:
- Find a flat and level surface to park your car, away from traffic.
- Engage the parking brake to prevent any accidental rolling.
- If available, use wheel chocks to add an extra layer of security by placing them behind the opposing tires.
Removing The Wheel Nuts
Once you’ve secured your vehicle, it’s time to start removing the wheel nuts. This step is vital to gaining access to the tires for replacement. Follow the steps below:
- Locate the wheel nuts on the wheel assembly.
- Using a lug wrench or an appropriate socket size, loosen the wheel nuts by turning them counterclockwise.
- Ensure each wheel nut is loosened, but do not remove them completely just yet.
- If you encounter any resistance while loosening the nuts, apply some penetrating oil or a rust dissolver to ease their removal.
With the wheel nuts loosened, you’re now ready to proceed with the next steps of the tire replacement process.
Removing The Old Tire
Replacing a car tire by yourself is a feasible and useful skill for car owners. One of the steps in this DIY guide is removing the old tire. This process involves loosening the lug nuts with a wrench, lifting the car using a jack, and carefully taking off the tire.
Removing the old tire is an essential skill for every car owner. Whether you’ve experienced a flat tire or simply need to replace old tires with new ones, knowing how to remove the old tire can save you time and money. In this step-by-step guide, we will walk you through the process of removing the old tire, ensuring that each step is explained clearly and concisely. Let’s get started!Lifting The Vehicle
First, ensure your car is parked on a flat surface and engage the parking brake to prevent any unwanted movement. It’s important to lift the vehicle properly to ensure your safety and prevent damage. To lift the vehicle, follow these steps:- Locate the designated lifting points under your car. These points are typically indicated by arrows or notches on the vehicle’s body.
- Position a sturdy jack under the lifting point nearest to the tire you want to replace. Ensure the jack is centered and in a secure position.
- Slowly pump the jack handle up and down to lift the vehicle. Continue pumping until the flat tire is completely off the ground. Avoid lifting the car too high, as it may become unstable.
- Place jack stands beneath the vehicle’s frame or designated jack points for added security. Lower the jack, allowing the vehicle to rest on the jack stands.
Dismounting The Tire
Now that the vehicle is securely in the air, it’s time to remove the old tire. Follow these steps carefully:- Using a lug wrench, loosen the lug nuts on the old tire by turning them counterclockwise. Note that some lug nuts may be difficult to loosen, so you may need to apply additional force.
- Once the lug nuts are loose, position a hydraulic jack or a sturdy log under the vehicle’s frame near the tire. It will serve as a precautionary backup in case the vehicle starts to lower unexpectedly.
- Once secure, remove the lug nuts completely and carefully slide the old tire off the wheel hub. Be mindful of the tire’s weight and ensure it does not fall.
- Inspect the wheel hub for any dirt, debris, or rust. Clean the hub thoroughly if necessary, ensuring a smooth surface for the new tire.
Installing The New Tire
When it’s time to install the new tire, follow these simple steps for a hassle-free process:
Mounting The New Tire
1. Position the new tire on the wheel hub carefully to align the bolt holes.
2. Gently slide the tire onto the hub, ensuring a snug fit for proper alignment.
3. Never force the tire onto the hub to avoid damaging the bolts or threads.
Tightening The Wheel Nuts
1. Start by hand-tightening the wheel nuts in a crisscross pattern to ensure even pressure.
2. Use a torque wrench to tighten the nuts gradually in a circular motion for proper alignment.
3. Check the manufacturer’s recommended torque settings to prevent over-tightening.
Ensuring Proper Fit And Testing
When replacing your car’s tires, ensuring proper fit and testing is crucial to guarantee safety and optimal performance on the road. In this step-by-step guide, we will cover the essential aspects of ensuring proper fit and testing after DIY tire replacement.
Checking Tire Pressure
1. Before installing the new tires, it’s important to check the tire pressure. Use a reliable tire pressure gauge to ensure that the pressure matches the manufacturer’s specifications. 2. Low tire pressure can lead to reduced fuel efficiency and increased risk of tire damage, while overinflated tires can affect handling and traction.
Testing The Vehicle On The Road
1. Take a short test drive to assess the vehicle’s performance with the new tires. 2. Pay attention to any unusual vibrations, pulling to one side, or unusual noise. 3. Testing the vehicle on a variety of road surfaces and conditions can help identify any issues with the new tires and ensure that they are properly installed and balanced.
Credit: www.tricountytoyota.com
Credit: www.bridgestonetire.com
Frequently Asked Questions Of Step-by-step Diy Tire Replacement Guide For Car Owners
How Do You Change A Tire Step By Step?
To change a tire, 1. Park on level ground. 2. Loosen lug nuts. 3. Jack up the car. 4. Remove lug nuts and tire. 5. Install the spare tire. 6. Tighten lug nuts. 7. Lower the car. 8. Double-check lug nuts.
Can You Replace A Car Tire By Yourself?
Yes, you can replace a car tire by yourself. Just follow the proper steps and precautions.
How Do I Change My Tire Checklist?
To change your tire, follow these steps: 1. Start by finding a safe location to park your vehicle. 2. Get your jack, lug wrench, and spare tire ready. 3. Loosen the lug nuts, then lift the vehicle using the jack. 4.
Remove the lug nuts and take off the flat tire. 5. Place the spare tire on and tighten the lug nuts. Remember to get your flat tire repaired or replaced as soon as possible.
Can You Just Buy A Tire And Put It On Yourself?
Yes, you can buy a tire and install it yourself following proper safety guidelines.
Conclusion
Maintaining your car is essential for safety. By following this DIY tire replacement guide, you can save time and money. Don’t hesitate to tackle this task yourself for a rewarding experience. Ensuring your vehicle is in top condition is key to safe driving.
Stay informed, stay safe.